RTC students and I made Paul Sellers' Shooting board.
I modified it somewhat to suit upcoming modules by changing a few things.


Left is P. Sellers' and right is ours.
In module 2 students often make small samples so I spaced out the miter stop.
I also reduces the thickness of the top component by 1/4"

Students started with 32" X 8" of already dressed 4/4 pine ( approx 7/8" thick ). Also given to them was another dressed board 3/4" X 4 1/2" X 20" for the top.
Components:
- Bottom - 8" X 19"
- Cleat - 3 1/4" X 12"
- 2 wedges (stops) - 3" tapering to 1 1/2" X 12"
- Top - 4 1/2" X 19"
First Vera crosscut her 32" from an 8' board using a sturdy Crosscut Backsaw


Then she laid out her components before separating (by crosscuting) the 19" bottom from the 12" wedges and cleat.

Anthony then found the sharpest Rip Saw and ripped the cleat off of the two wedges.
Below Justin attempts to follow the diagonal layout line so he can separate the two wedges.

The wedges are then taped together with double sided tape and twinned using a block or smoothing plane.
Wilbert gets down to planing and checks to make sure the two edges of his wedges are identical and most importantly SQUARE

 |
| The ends of the wedges are not a concern at this point. |
 Student reminded me of my long winded speeches about accuracy and craftsmanship when I began to demonstrate the layout with a combo square. So I put my money where my mouth is and grabbed a compass so I could bisect 180, then 90 to layout the first lines.
_______________
____\_____|_____
6" 4 1/2"
45 degrees 6" from the bottom
90 degrees 4 1/2" from the top
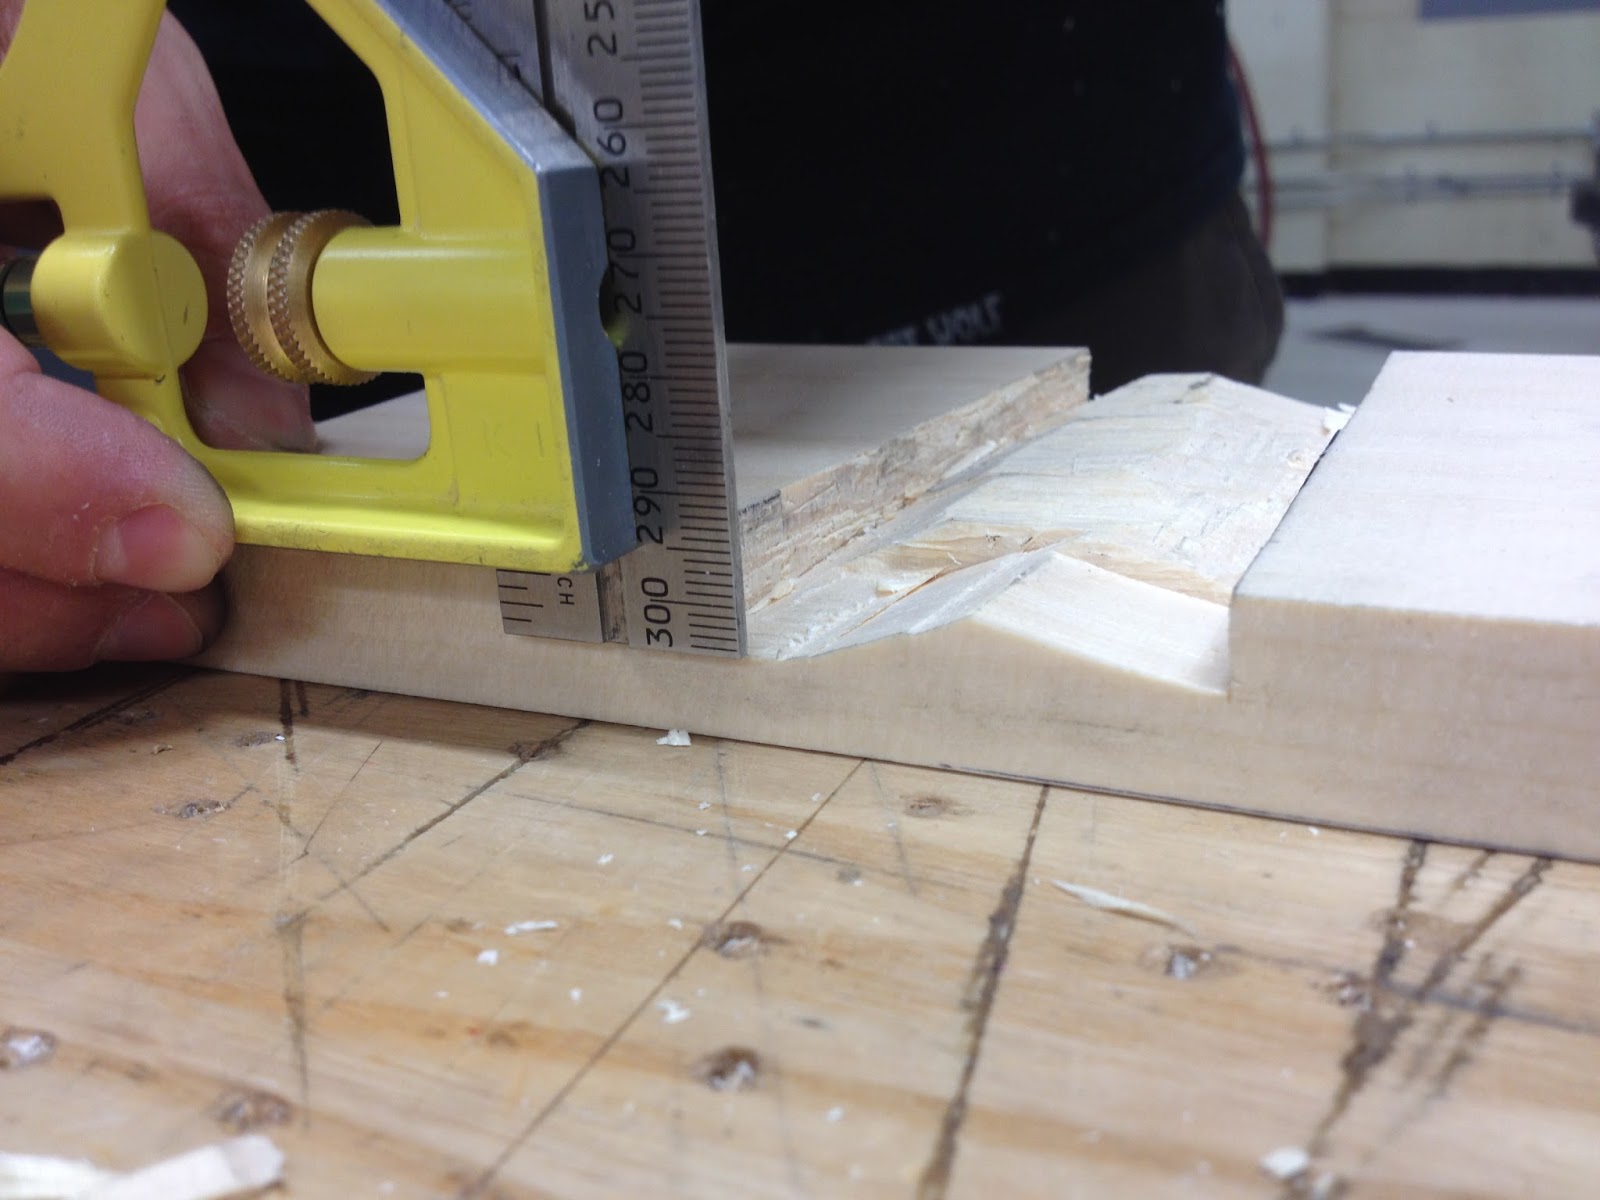
 Andy scores those lines with a sharp knife to make a register for his chisel.
Now Andy can place his chisel inside the knife line and sever the fibers all the way across.
Now Andy can lean the chisel back onto the bevel and start about a 1/4" back to begin removing material
Now Orlando finds his Identical wedges and places one side against the wall of the newly chiseled line
He can now accurately trace the opposite side of the tapered dado.


Orlando is very anal about his right angles, and so he should be.
Clamping a square block along the new line for the chisel to follow allows little room for imperfection
Material is then chiseled out carefully. With the chisel upside down, depth and aggressiveness is controlled by raising and lowering the handle while striking it with a mallet or by pairing
Chisel from the middle of the dado toward the walls, then snap off the shaving by placing the back of the chisel against the wall at 90 degrees where you originally started.
The combo square makes a nifty depth gauge. Set it to 1/4" and don't chisel too deep.
THEN....

Not too shabby Fat Wolf!
Pete will layout his chamfer with the combo square for the underside of the top component we just worked on. After he will use them to guide his block plane.

Those Layout lines sure did the trick
Screw together

 Andy Shows of what a square he is.
Pete Labels his wedges (stops) because they are one of a kind.
The Rebate
A rebate about 1/16" deep is made by shooting with the side of the plane flat against the board and extending the iron out more and more each pass.
After assembly with screws, a rebate must be run just over the chamfer so the plane iron doesn't catch the side of the top component when shooting.

Of course this would probably happen anyway from use but it is best to do it before use.
Watch Orlando demonstrate A) how sharp he is, B) how the shooting board simplifies things by holding the plane 90 degree on one side, and C) How annoying I am constantly pressuring him to do stuff with my iPhone in his face.
A rebate about 1/16" deep is made by shooting with the side of the plane flat against the board and extending the iron out more and more each pass.

Of course this would probably happen anyway from use but it is best to do it before use.
Watch Orlando demonstrate A) how sharp he is, B) how the shooting board simplifies things by holding the plane 90 degree on one side, and C) How annoying I am constantly pressuring him to do stuff with my iPhone in his face.
Pine doesn't scrape very well, and we haven't even talked much about the scraper. But Orlando has his awesome new sanding block.

Of course STEEL BEFORE SANDPAPER rule always applies for any good woodworker. So Orlando first trued up the ends of his shooting board with a block plane before sanding.
 |
| A final sand with a 120 grit aluminium oxide paper and sanding block produces a surface produced with craftsmanship. |


