Now that we have flattened the bottom of our chisels and plane irons, then ground them to 25 degrees on the grinding wheel, it is time to start honing the secondary bevel.
 |
| waterstone demonstration |
The Secondary bevel is about 30 degrees. It can be achieved by simply lifting the back of the hollow grind 1 mm off the abrasive surface while honing.

The Diamond Stones are Ideal for honing because they are durable. Silicone Carbide sandpaper that was set up for flattening is also a great way to hone a secondary bevel. However it may easily rip.
 |
| Demonstrations were done on 3 types of Abrasives |
Honing begins @ 320 grit and higher. * U.S. (see previous Grit blog post)
We worked our way up from there to 1200 on sandpaper or highest available on stones.

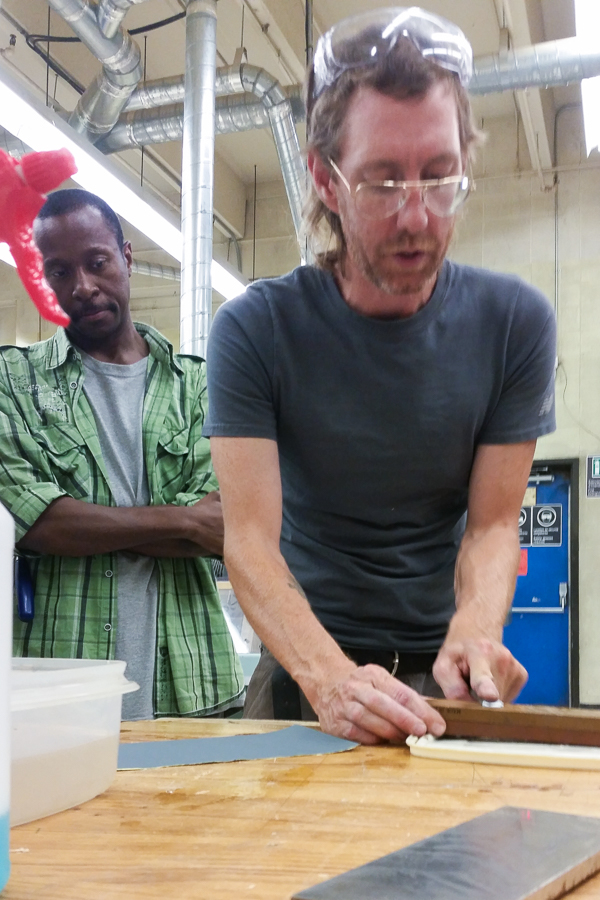
First we had to find the 30 degree secondary bevel. I did this by demonstrating how the hollow grind sits itself on the stone. Then I lifted the back about 1mm off the stone to find the perfect angle.
By Habit, I hone in a figure 8 pattern. I do this because I often use water stones which wear away (un- flatten) quickly. The diamond stone is tough. So Diamonds are a boys best friend.


Here at the end of the blade we can see the Burr created from the abrasive friction on the point of our tool. When a burr is created I know I have honed enough and it is time to remove it.
 |
 To remove the Burr I must turn the blade over and hone it FLAT on the abrasive. The Burr will flip back on the other side. Once this happens, it is time to move up to the next grit and repeat the process. (hone the secondary bevel, then flip and hone flat.
Again, this is a task that takes much practice to master. Returning to the grinder after the 5th time may be the straw that breaks the camels back. So Here at RTC we have some honing jigs to help.
 |
| The Lie-Nielsen honing jigs hold the blade at the right angle for you as you work your way up the grits |


Orlando wearily tries to see the burr on the end of his chisel. Since all light escapes such a fine point I suggest he uses "the force" instead. After he "honed in on the burr" using his Jedi powers, Orlando then flipped his chisel over and honed it off without having to remove the jig.
Stropping
Now that we have reached our final and highest grit in the honing process. it is time to strop!
Stropping is the same technique the barber used to keep his or her razor sharp
It can be done on leather, or using a pumice or stropping compound on wood.
If you are sharp. the blade should be able to slice through the end grain of a soft wood like pine without trouble. Just like Mathieu
A sharp blade will leave a "wet" looking surface on the end grain if it is scary sharp!

Justin hits a home run with his chisel sharpening skills
Performance

These shavings are so thin they are translucent.
Attitude and Craftsmanship

No comments:
Post a Comment